
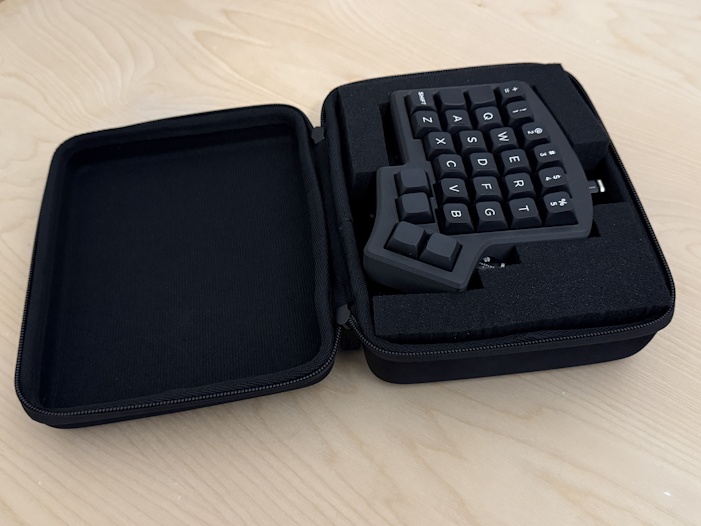
A few years ago I wrote about my Kinesis Advantage360 travel case hack. The article has been popular, and it encouraged me to share more about my interest in the overlap of ergonomics and the digital nomad lifestyle. I’ve even thought about overhauling this site to make the focus digital nomad ergonomics. I still might in the future, but doing a good job takes time, which is the reason I took so long to write this post.
Anyway, let’s get to it. I swapped my Advantage360 for an Iris. I didn’t want to, but I got tired of carrying it around. It’s too big. All of the curved keywell keyboards are. My transition process was slow and methodical: To ease the transition, I used MDA profile keycaps and mimicked the concave curvature of the 360. It worked, but trying to get the appropriate curvature for each key and row was expensive and ultimately impractical.
When I set up my backup Iris, I chose DSA profile keycaps. I was nervous to use a fully flat keyboard, but after testing it for a few weeks, I can confidently say my wrists were fine, and the lack of curvature does not cause me wrist pain. I donated my Kinesis Advantage 2, and my Advantage360 is stored away in case of emergency, third in line after my DSA Iris backup. So, mission success; transition to flat keyboard to save travel space complete.
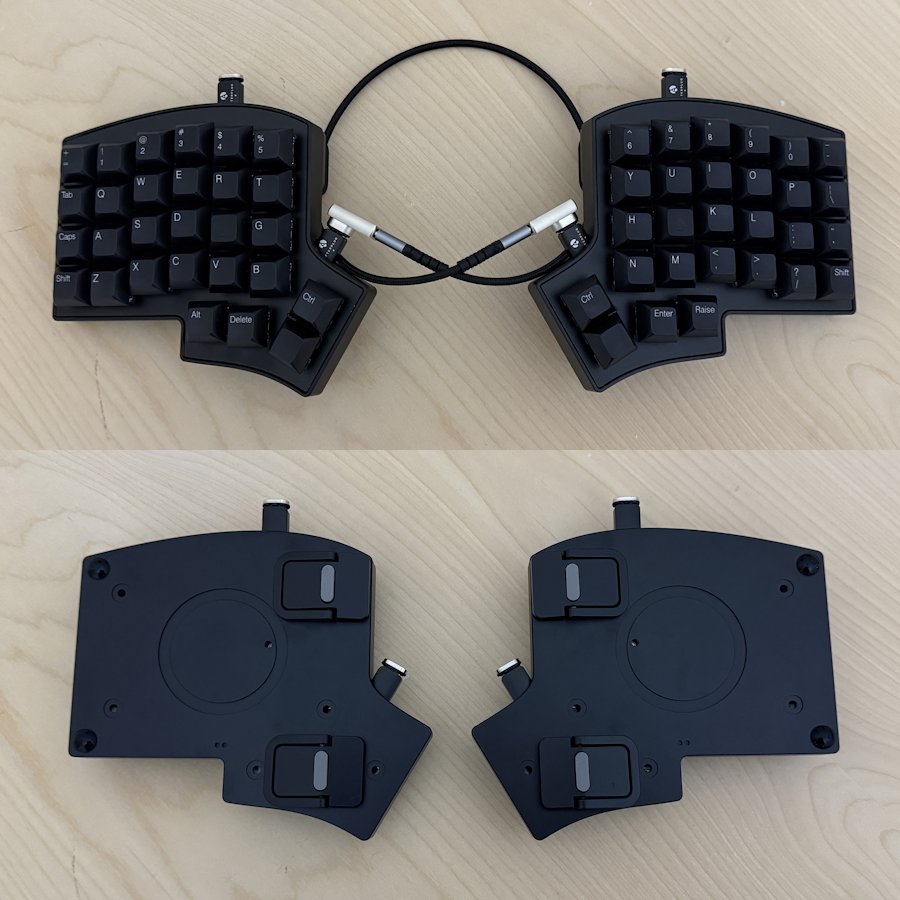
Before I talk about their cases, it’s worth sharing that both have noteworthy modifications. Most importantly, they both have legs for tenting, and that adds considerable height when thinking about a case. I also use magnetic USB-C right angle adapters combined with always-in USB-C extension adapters to make packing up then setting back up easy. I’m sure any manufacturer would advise against leaving in port extenders while traveling. I think they would be right to do so, but later I’ll show you how I account for them and you can decide for yourself whether or not you care to do the same.
To be clear what I’m working with, I’ll share both keyboards and their components below.
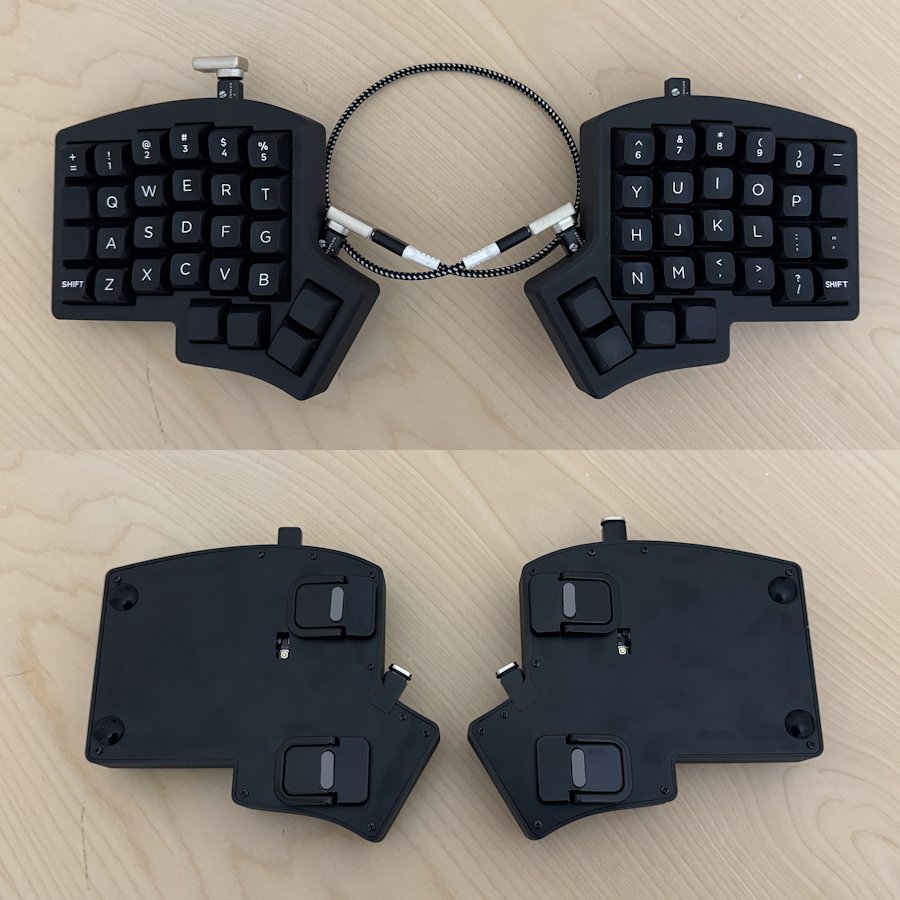
Main Keyboard:
- Iris SE (Standard Edition) from Keebio
- 3D Printed Case from Tree Dog Studio
- Akko MDA Keycaps from Amazon (x2 for two shift keys) + Ducky MDA keycaps from Amazon (blank keys outside the thumb cluster) + Mechkeeb XDA Keycaps from Amazon (for the thumb cluster)
- Tenting Legs from AliExpress (also on Amazon) + Rubber Feet Pads from Amazon
- Afterplug USB-C Male-to-Female Extenders from Amazon (x2 to extend all ports)
- Magtame Magnetic USB-C Right Angle Adapters from Amazon (x2 to cover connection to laptop as well. Different brand, but same product)
- Monoprice Stealth Charge 1.5 Feet USB-C Cable from Amazon (x2 to cover connection to laptop as well. Not sure if they make this anymore; see backup keyboard)
Backup Keyboard:
- Iris SE (Standard Edition) from Keebio (no case)
- DSA Keycaps from AliExpress + Blank DSA Homing Keycaps from AliExpress (x2 for F and J keys)
- Tenting Legs from AliExpress (also on Amazon) + Rubber Feet Pads from Amazon
- Afterplug USB-C Male-to-Female Extenders from Amazon (x2 to extend all ports)
- Magtame Magnetic USB-C Right Angle Adapters from Amazon (x2 to cover connection to laptop as well. Different brand, but same product)
- ULIFTUS 1.5 Feet USB-C Cable from Amazon (x2 to cover connection to laptop as well. I prefer these over coils because they pack flat)
Now, let’s talk about travel cases. I have two opinions about travel cases that influence how I make a case.
- Overengineering is better than under-engineering. I helped out at my dad’s upholstery shop growing up. We spent a lot of time fixing poorly designed products. Separately, when I travel, it’s often international. Not only are these keyboards expensive, but they’re also extremely hard to replace professional tools. Given those influences, I would rather have a case be overkill than not enough.
- The shoe box method is superior. MoErgo wrote a Reddit post talking about lessons learned from designing a travel case for the Glove80, saying the shoe box method (described in my Advantage360 case article) is impractical because the added thickness makes it difficult to fit in a backpack. I agree. The alternative is to place both pieces side by side. Any serious concave keywell keyboard manufacturer needs to do this, because it is worse to sell a thick keyboard case than a thin one that eats up a little more space. However, if you know the thickness isn’t a problem, the shoe box method does save space. Shoes have been around longer than keyboards. They figured this out a long time ago.
Split ergonomic keyboards with flat keywells rely on travel cases that separate the two components by a divider. They can do this with minimal space because both the bottom of the keyboard as well as the keys side are flat. Sturdy tenting legs ruin this. Like the heel side of a shoe or a curved keywell keyboard, the add height that needs to be accounted for. But, if you pack the keyboard like shoes in a shoe box — tenting legs together on opposite sides — it consumes the least amount of space. This has been a lengthy explanation, but explains why I’ve done what I have.
My Iris Travel Case
Materials List:
- co2CREA Hard Travel Case for Razer Tartarus Pro V2 Gaming Pad
- 4 Pieces of 16″ x 12″ x 1″ Pick Apart Foam Inserts (1″ thickness is critical)
- Thin Cotton Handkerchiefs (optional)
The case is the co2CREA Hard Travel Case for Razer Tartarus Pro V2 Gaming Keypad. I used scissors to carefully cut out the strap and netting inside, then cut off the handle and melted the fraying threads with a lighter (don’t do the latter unless you have experience melting nylon; you’ll ruin the case).
Once the case was gutted, it was ready for the next step.
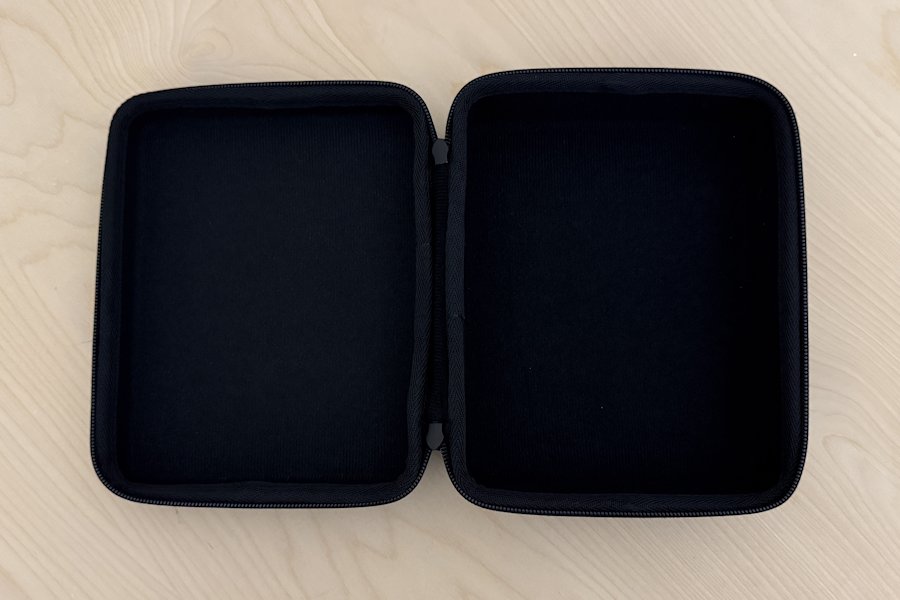
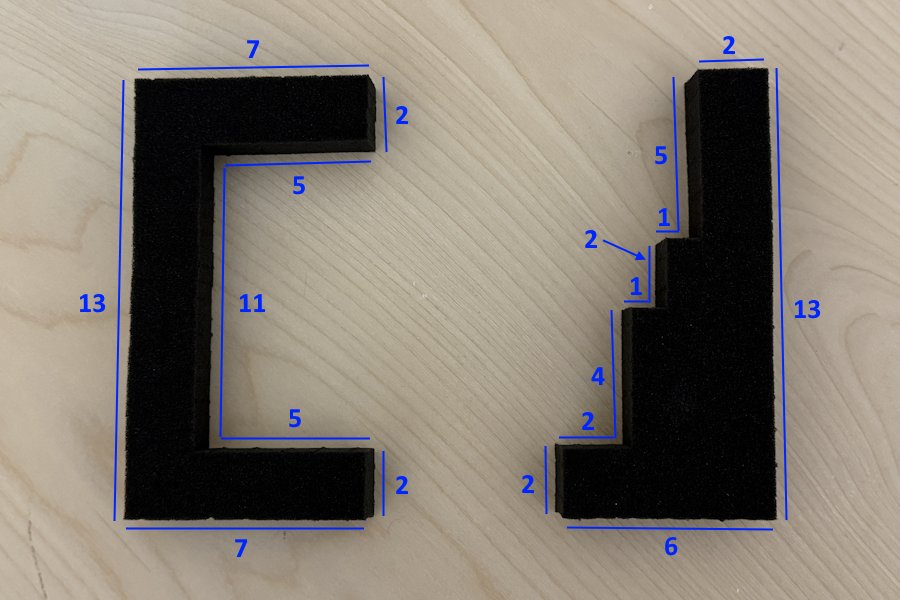
Next, I used pick apart foam to create inserts that hold each piece in place. There are four pieces total, but only two designs, since two pieces are duplicates of the others. The easiest way to explain their shape is by sharing a picture and denoting their lengths using each individual pick apart cube as a measuring unit.
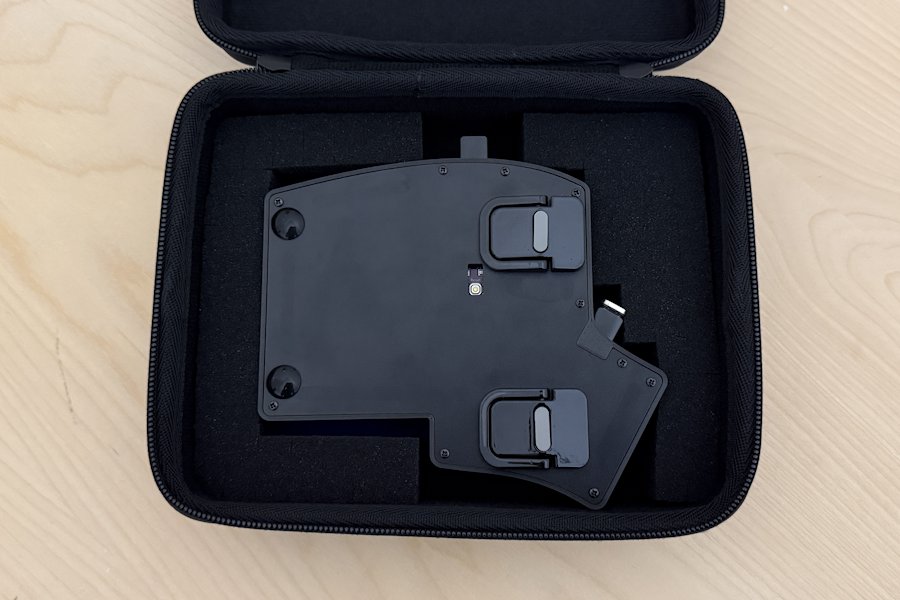
With one set of inserts complete, I put one side of the keyboard in the case, keycaps facing down.
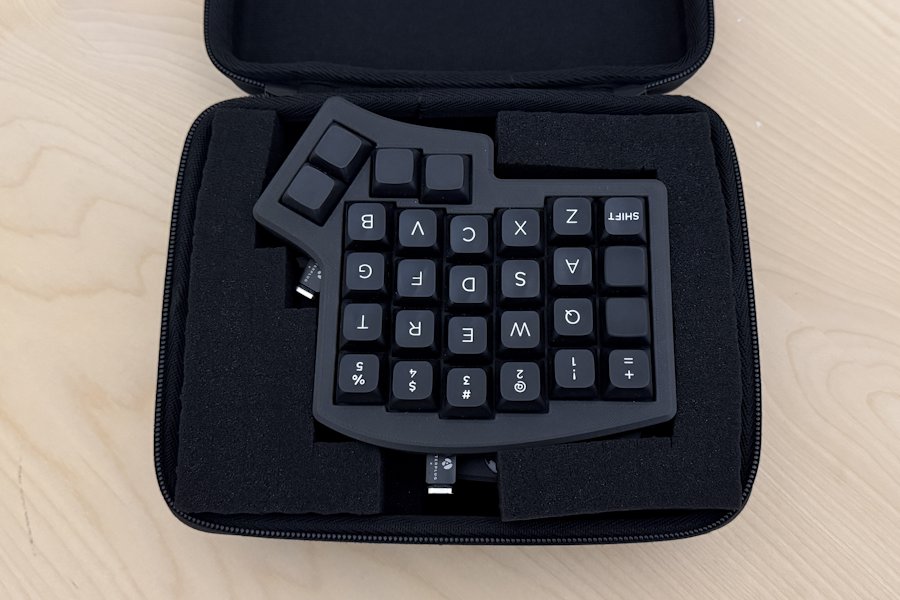
The next set of inserts form a second layer resting on top of the first layer. The sides are flipped, and the asymmetrical piece is inverted so the second half of the keyboard can sit on top of the first. The tenting legs fit the gap created by the other keyboard piece. It’s hard to explain, but hopefully makes sense when you lthe picture.
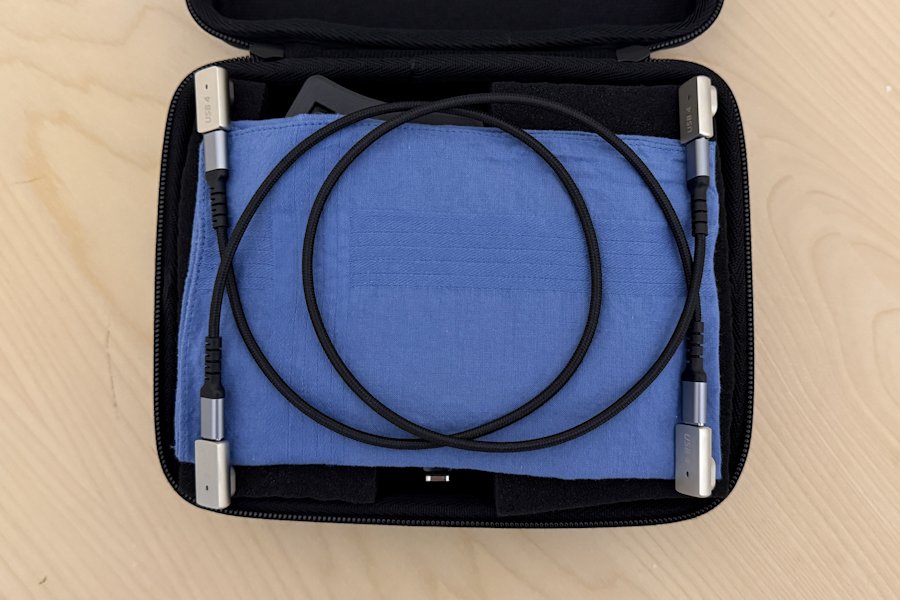
A handkerchief separates the USB-C cables from the keyboard pieces, which form a loop and have their magnetic adapters resting in each corner.
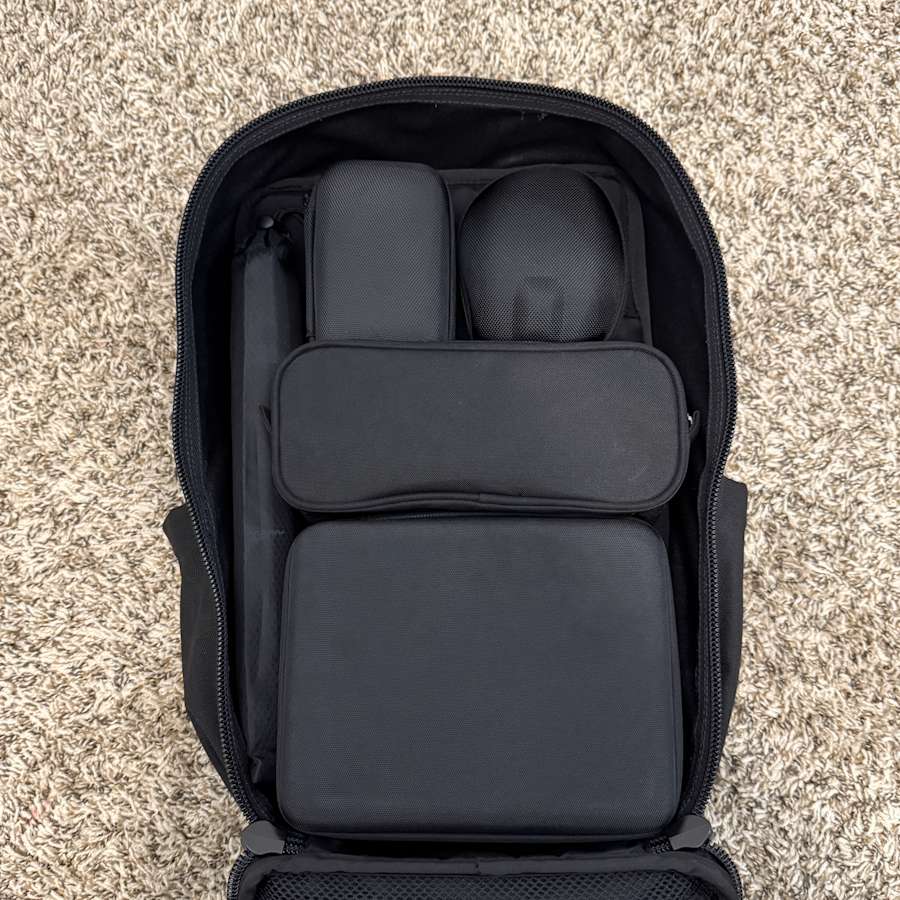
The case fits perfectly with the rest of my gear inside my personal item, a Marsupial Gear Everyday Backpack.
Thoughts & Considerations
This works really well for my setup. If the organization in my personal item looked different, I probably wouldn’t mind if the case used the side-by-side method rather than stacked the pieces on top of each other. Also, you could likely use two foam inserts instead of four by removing the the USB-C extenders. All things considered though, this works best for my use case. I hope it helps you in some way too.